Geolocation
What is it?
You can visualize your assets on the 3D map by clicking the Add data... button at the bottom of the Layer Control drawer and selecting the assets from the Add Data from panel. Some mesh or point cloud assets don't have an embedded georeference, which is the geospatial information that associates them with a specific location. In these cases, you can position and orient the asset on the StartApp map yourself. We call this process geolocalizing a dataset to a geolocation.
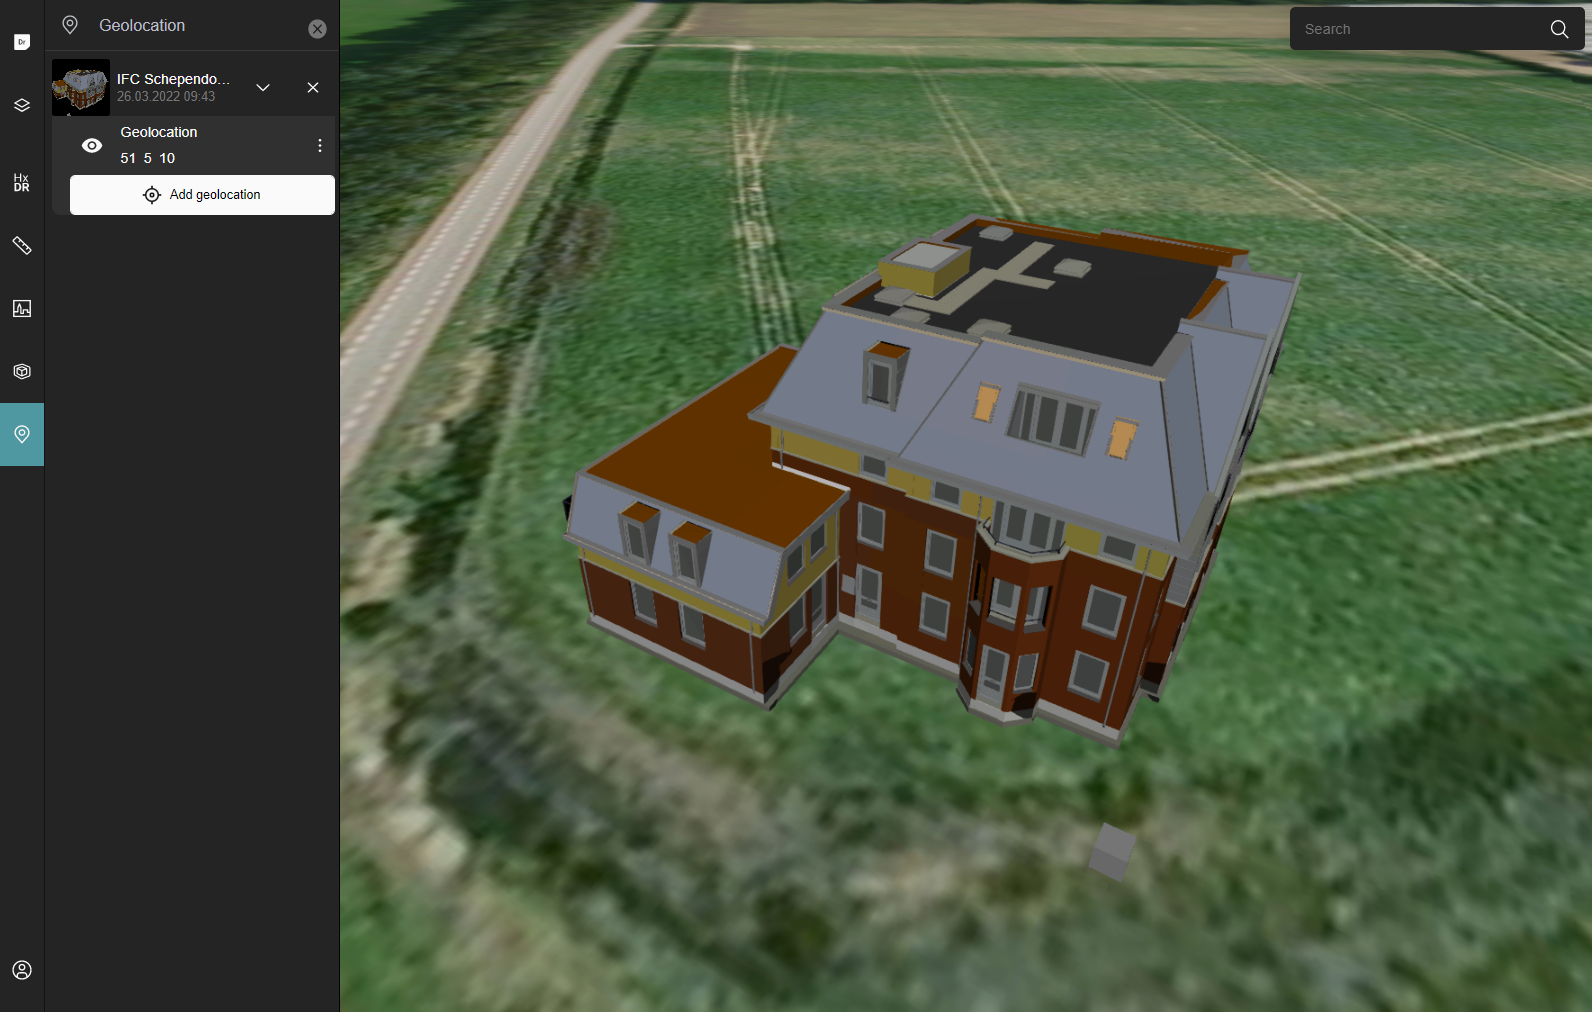
Using the geolocalization tool in StartApp, you can place the asset on the 3D map in an arbitrary position. This way, you create a geolocalized instance of your asset. The geolocalization tool is available from the Geolocation drawer.

How to geolocalize an HxDR asset from the UI
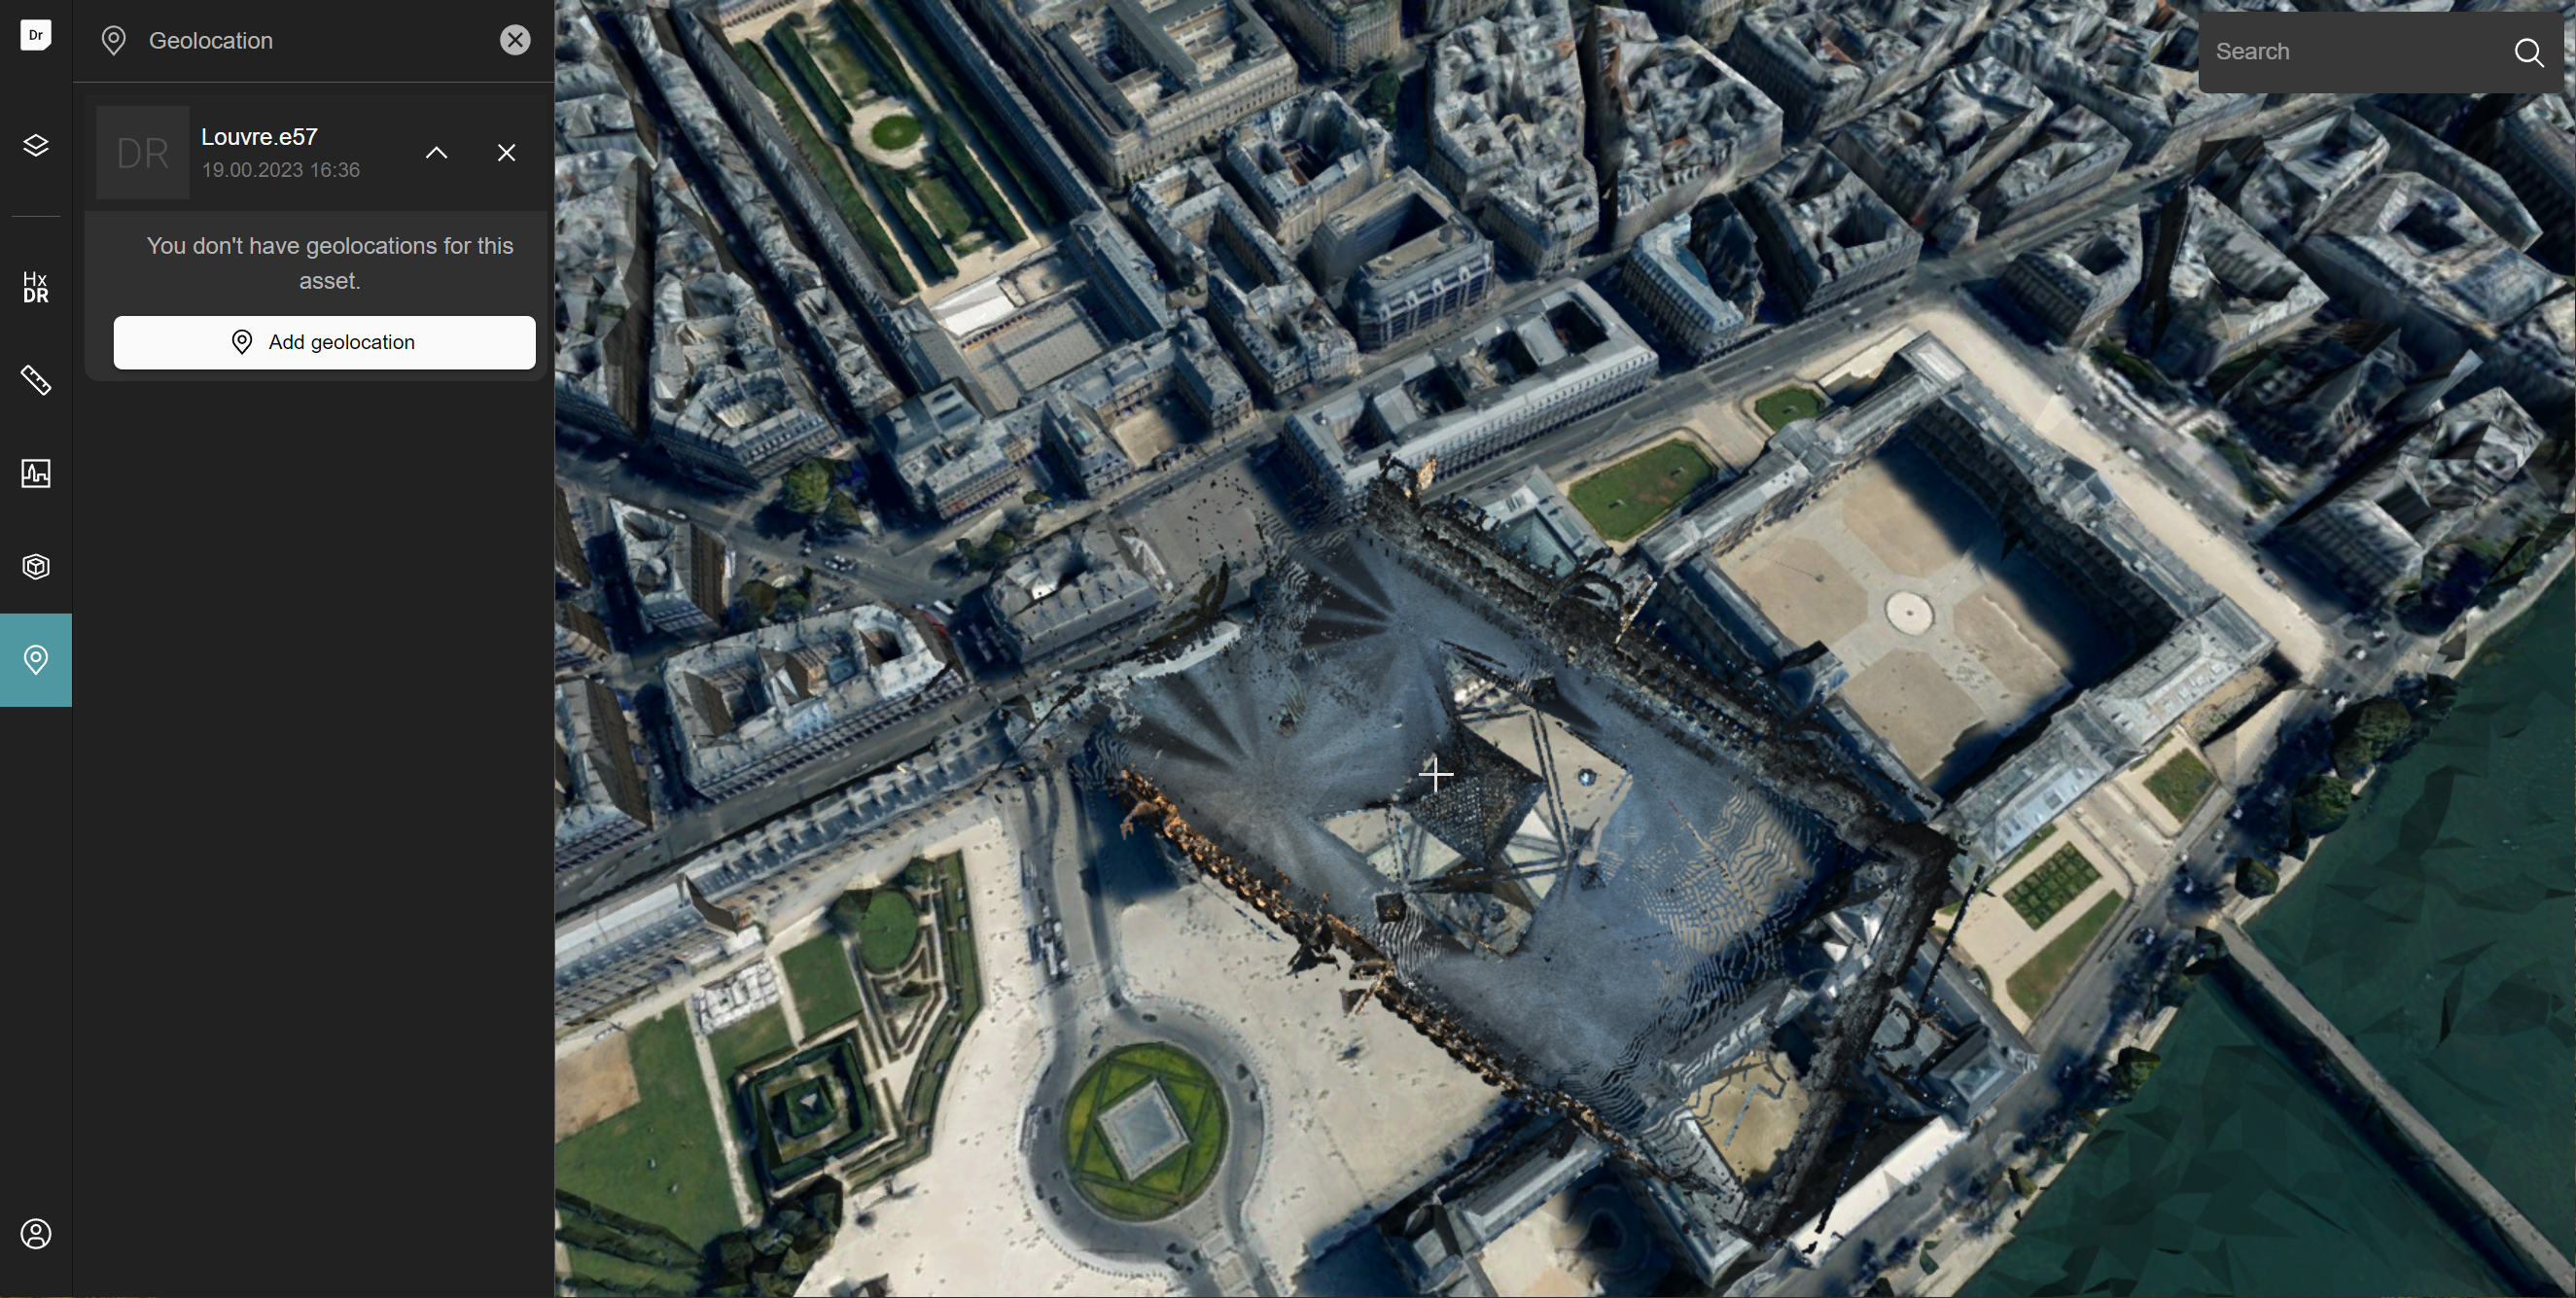
If you add an asset without a georeference in HxDR StartApp, StartApp automatically opens the Geolocation drawer. You can also open it yourself for a list of assets without a georeference.
To geolocalize an asset:
Slide open the Geolocation drawer by clicking the Geolocation icon in the left navigation bar, and find the asset you want to geo-localize.
On the map, navigate to the target location for your asset.
Click the arrow next to the asset name.
Click the Add geolocation button.
The cursor on the map turns into a white + icon. The asset becomes visible on the map. It hovers over the map with its center anchored to the cursor position.
Geolocating the asset. Click the target position for your asset.
StartApp places the asset at that position, and switches the cursor back to normal. The Geolocation drawer shows location information for the geolocation you have just defined. You can find the geolocation as a layer grouped with the asset layer itself under Asset layers in the Layer Control drawer.TIPWhen you're placing the asset, zoom in close to the surface on the map. HxDR StartApp only accepts your asset placement if you're close enough to the target surface. The cursor will stay a white + icon until StartApp accepts the placement.
To refine the placement of your asset:
- Open the menu next to the new geolocation.
- Select Move.
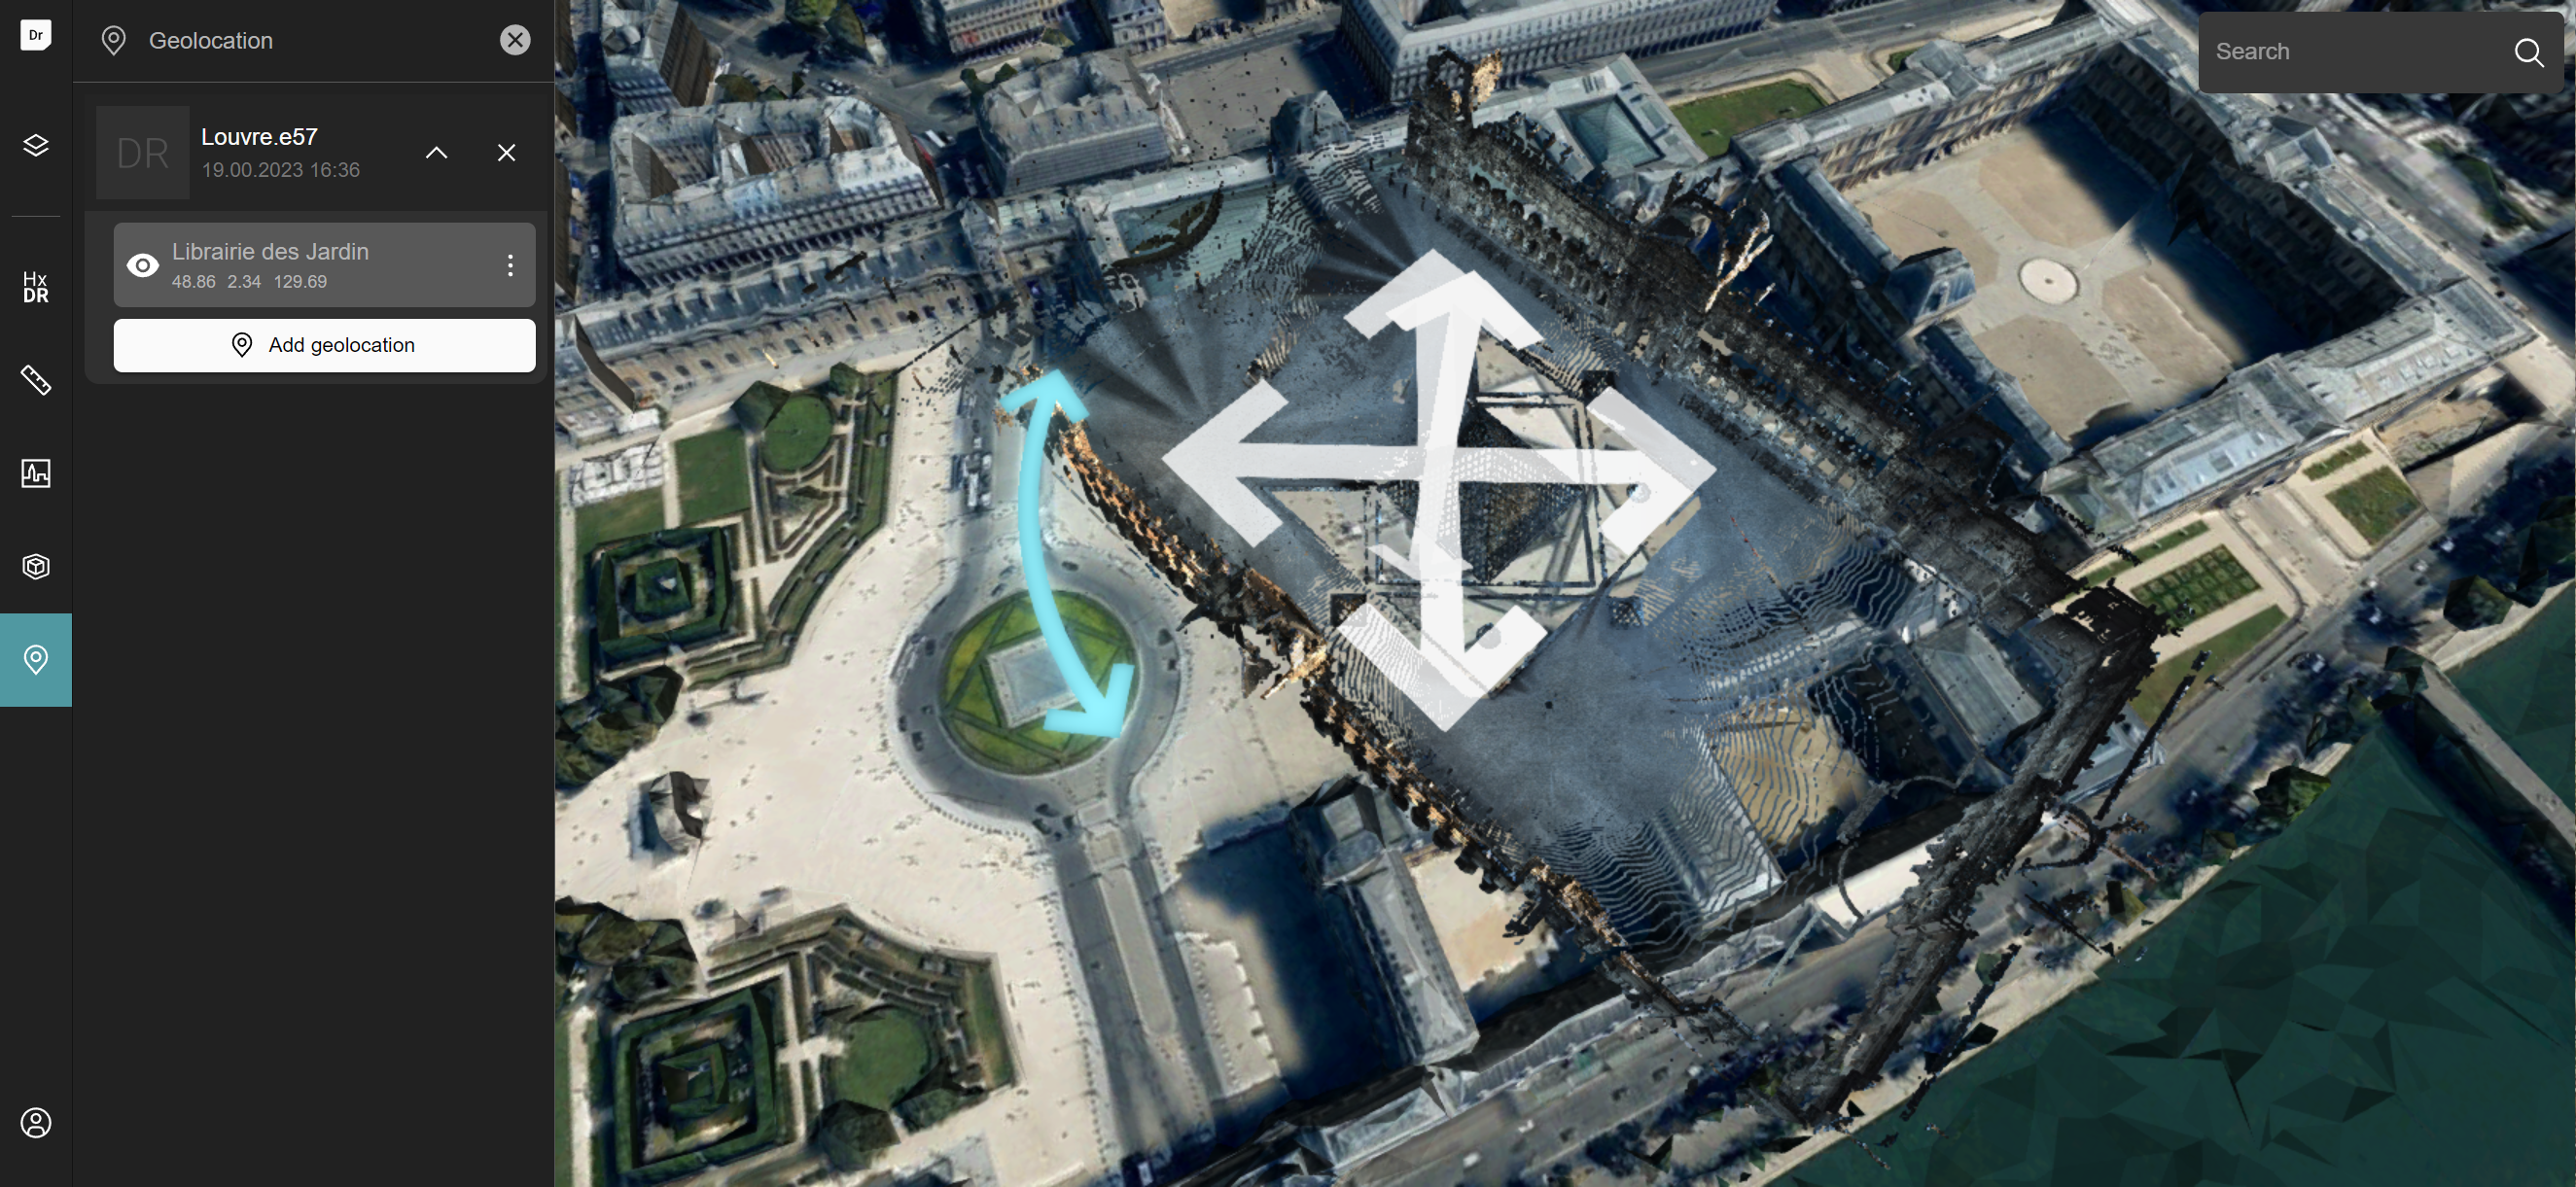
HxDR StartApp shows move and rotate arrows with the asset. Press the arrow indicating the direction that you want to move the asset in, and drag the asset into position.

To find a geolocation of an asset on the map again, open the menu with that geolocation, and select Zoom on position. The StartApp map will center and zoom in on that specific position.
To give a name other than an address to the geolocation, open the menu with that geolocation, and select Rename. Enter the new name, and click Save.
To hide mesh data in the asset, open the geolocation menu, and select Hide mesh.
To hide point cloud data in the asset, open the geolocation menu, and select Hide point cloud.
To delete a geolocation, open the menu with that geolocation, and select Delete.
You can no longer retrieve the geolocation at a later time.
To remove an asset and its geolocations from the map, click the x icon next to the asset name.
The asset and its geolocations remain stored in HxDR, and you can add them to StartApp again at a later time.
How to geolocate an HxDR asset from code
Use the GeolocationSupport that is created in App.tsx.
//let the support fetch the asset
geolocationSupport.addAsset(groupedAssetId);

const handle = geolocationSupport.on(ASSETS_CHANGED_EVENT, () => {
  handle.remove();
  const asset = geolocationSupport.assets.find(
      ({id}) => id === groupedAssetId
  );

  //this starts the placement interaction and will create a geolocation once the user places the asset.
  geolocationSupport.startGeolocationCreation(asset);
});
Once a geolocation is created, users can also move them:
const asset = geolocationSupport.assets[0];
const geolocation = asset.groupedAssetGeoreferences.contents[0];

//this starts the move interaction and will update the geolocation once done
geolocationSupport.startGeolocationMoveInteraction(geolocation);