Slicing
What is it?
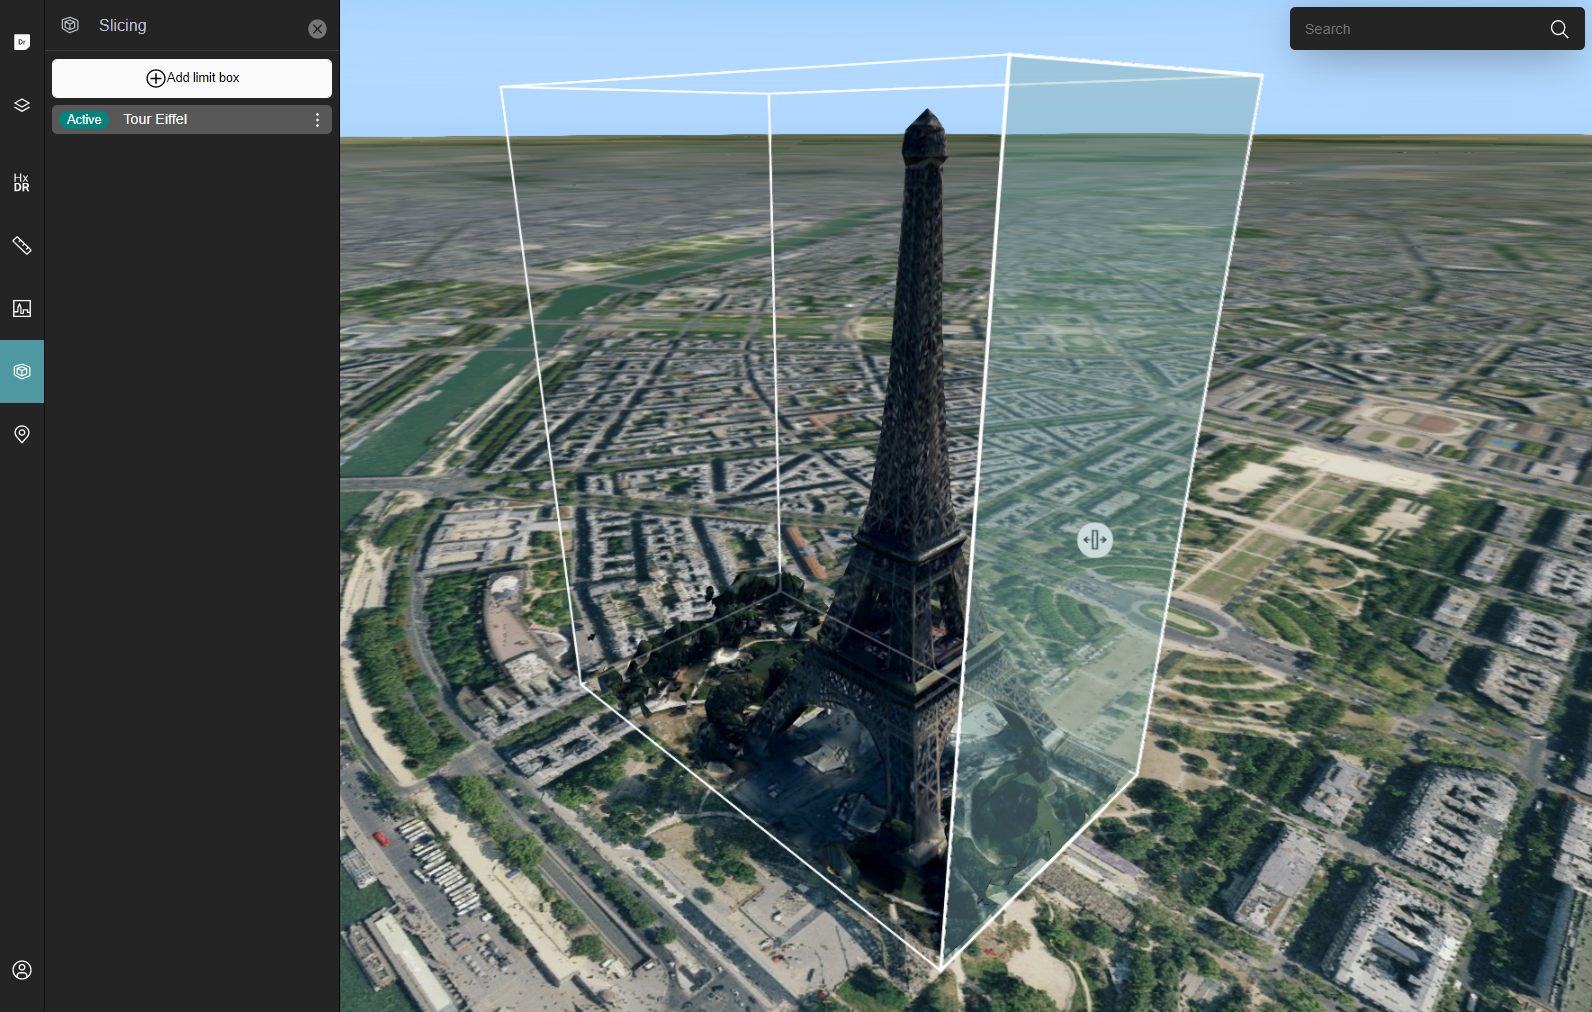
With the slicing tool, you can focus on interesting parts of 3D mesh and point cloud data, and hide other parts from view. The Slicing tool allows you to create a 3D limiting box, and hide the part of the 3D data layer that is inside or outside of the box. You can control the exact location, size, and orientation of the slicing box in 3D space.
By creating a slicing box, you create a visibility expression on 3D Tiles layers.
How to add a slicing box from the UI
To slice through a 3D layer in HxDR StartApp, you create a rectangular slicing box:
- Slide open the Slicing drawer by clicking the Slicing box icon in the left navigation bar.
HxDR StartApp opens the Slicing drawer on the left. - Position the map view to focus on the data of interest. Click the Create button.
- On the map, click 3 times to specify the width and length of the base rectangle of your limit box.
- Move the mouse cursor up or down to draw the full limit box around the data.
- Click to complete the box.
- Enter a name for the slicing box in the Save Slice box dialog.
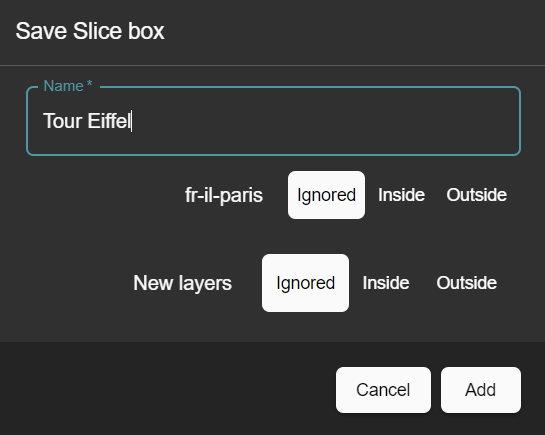
Configuring a new slicing box. - For each layer, specify what you want to do with the data in your slicing box:
- To keep only the part of the layer inside your slicing box in view, click the Inside button next to the name of the current data layer.
- To keep only the part of the layer outside of your slicing box in view, click the Outside button.
- To keep displaying data both inside and outside of your slicing box, click the Ignored button.
- To specify how to visualize the slicing box data with any layers you add later on, click the Ignored button, Inside button, or Outside button with New layers.
- Click Add to apply your visualization configuration to the slicing box.
HxDR StartApp lists the new slicing box as an Active item in the Slicing drawer on the left.
To add more slicing boxes, click the Add limit box button at the top of the Slicing drawer.
Fit and center the map on a slicing box
To focus the map on a slicing box:
- In the Slicing drawer on the left, find the slicing box you want to focus on in the list.
- Click the menu icon with the slicing box item, and select Fit from the menu.
HxDR StartApp fits and centers the map on the slicing box.
Re-size and manipulate a slicing box
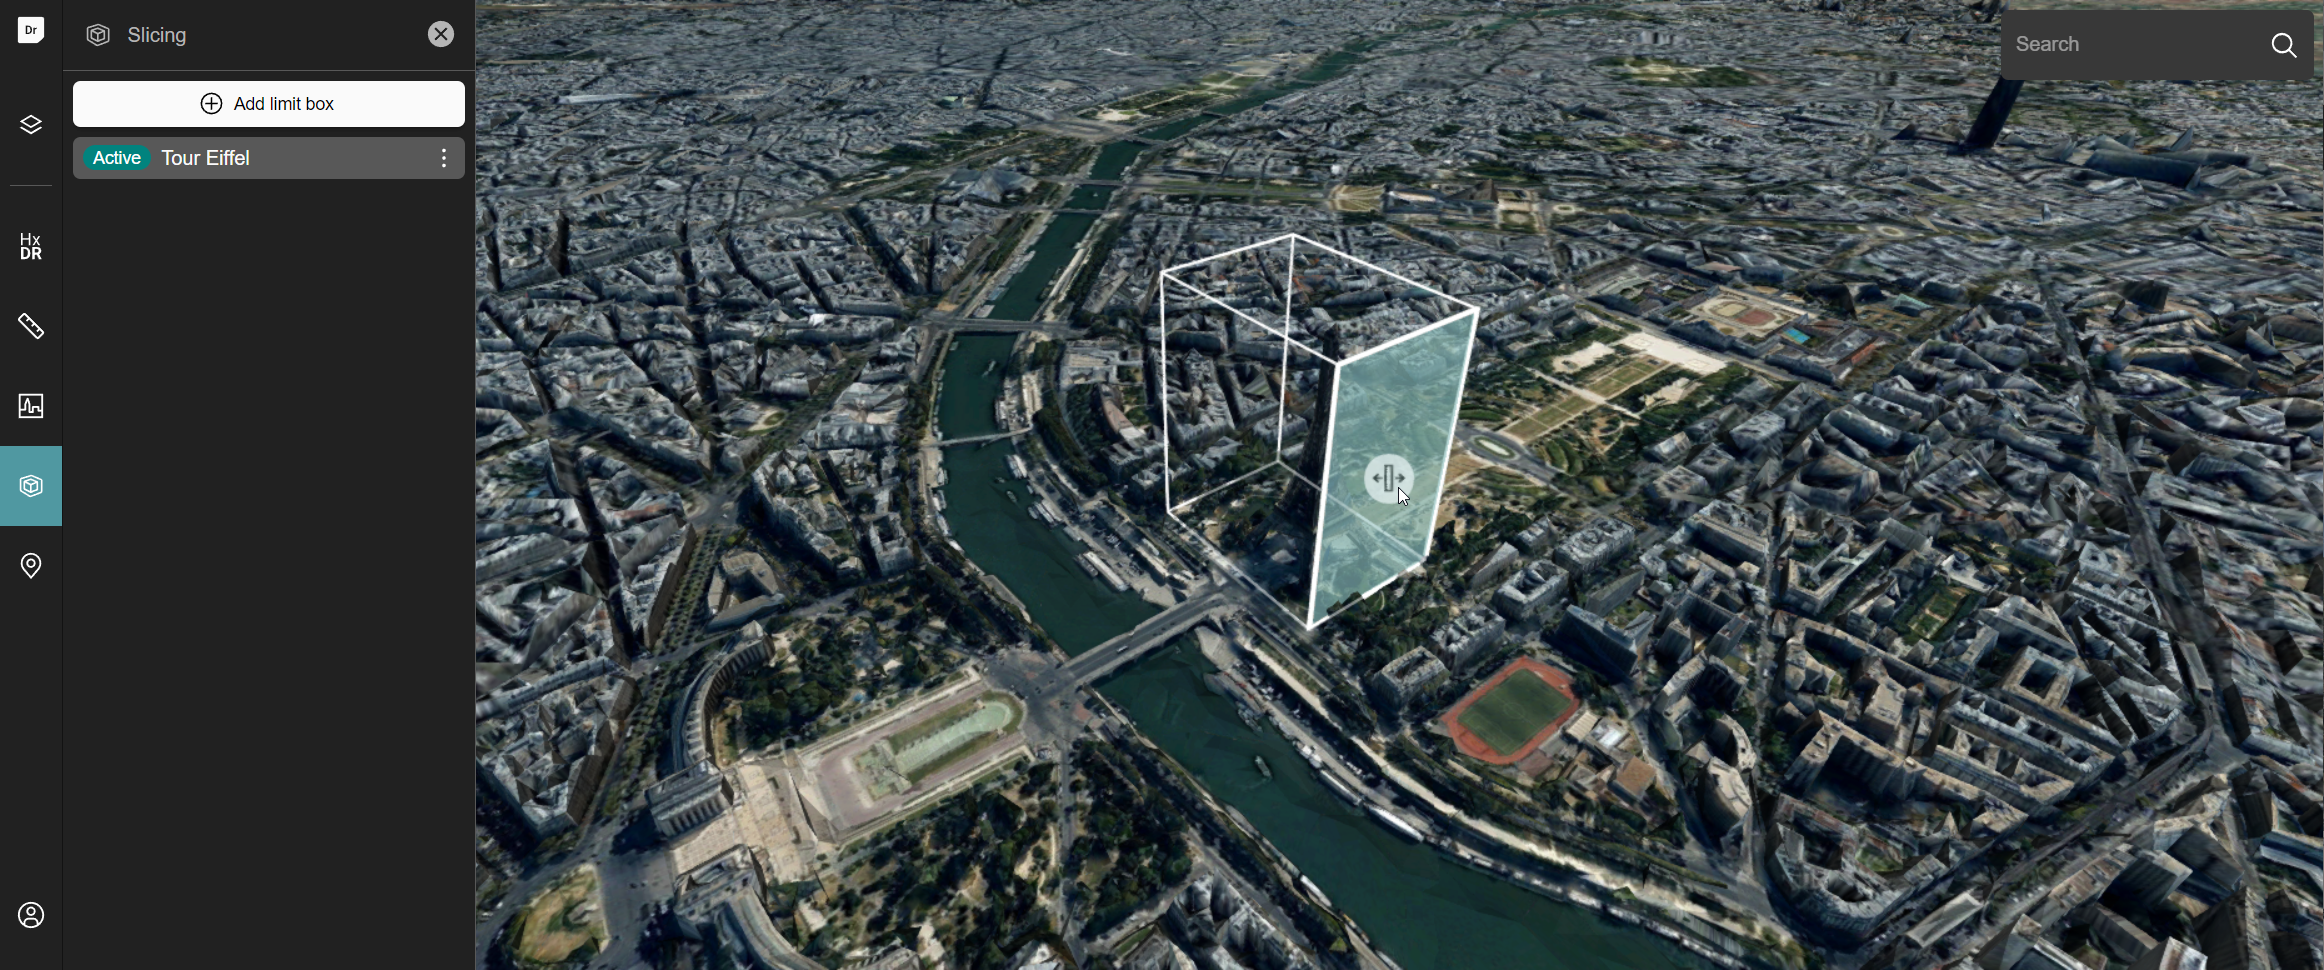
To re-size the slicing box on the map:
- Select the slicing box, and hover over the slicing box face you want to re-size.
Alternatively, find the slicing box in the Slicing drawer list. Click the menu icon with the slicing box item, and select Resize from the menu. - When the re-size icon appears, press the icon, and drag it in the direction you want.
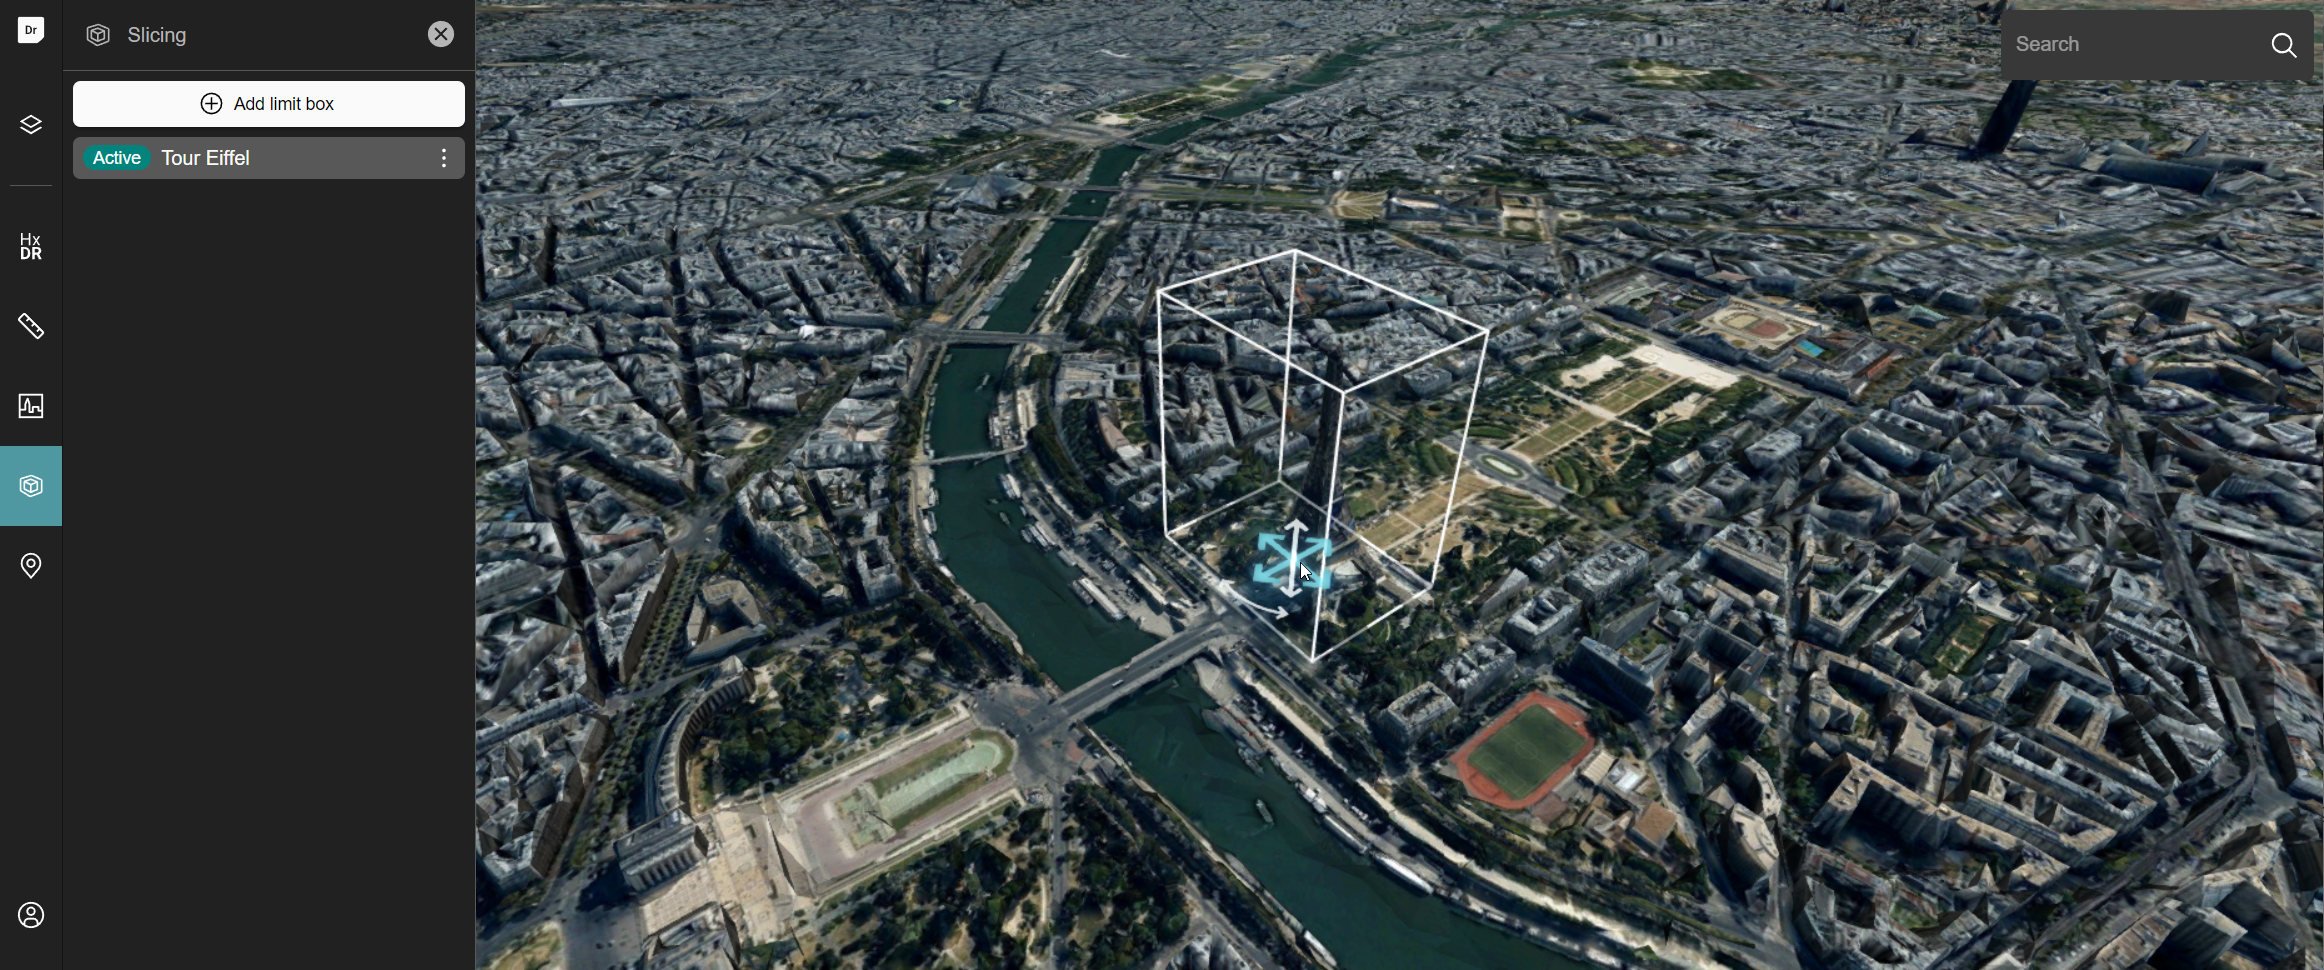
To move a slicing box on the map:
- Select the slicing box, and click it again.
Alternatively, find the slicing box in the Slicing drawer list. Click the menu icon with the slicing box item, and select Move from the menu. - HxDR StartApp shows move and rotate arrows in the slicing box. Press the arrow indicating the direction that you want to move the box in, and drag the box.
While you are moving the slicing box, HxDR StartApp shows the distance from its original position in meters.
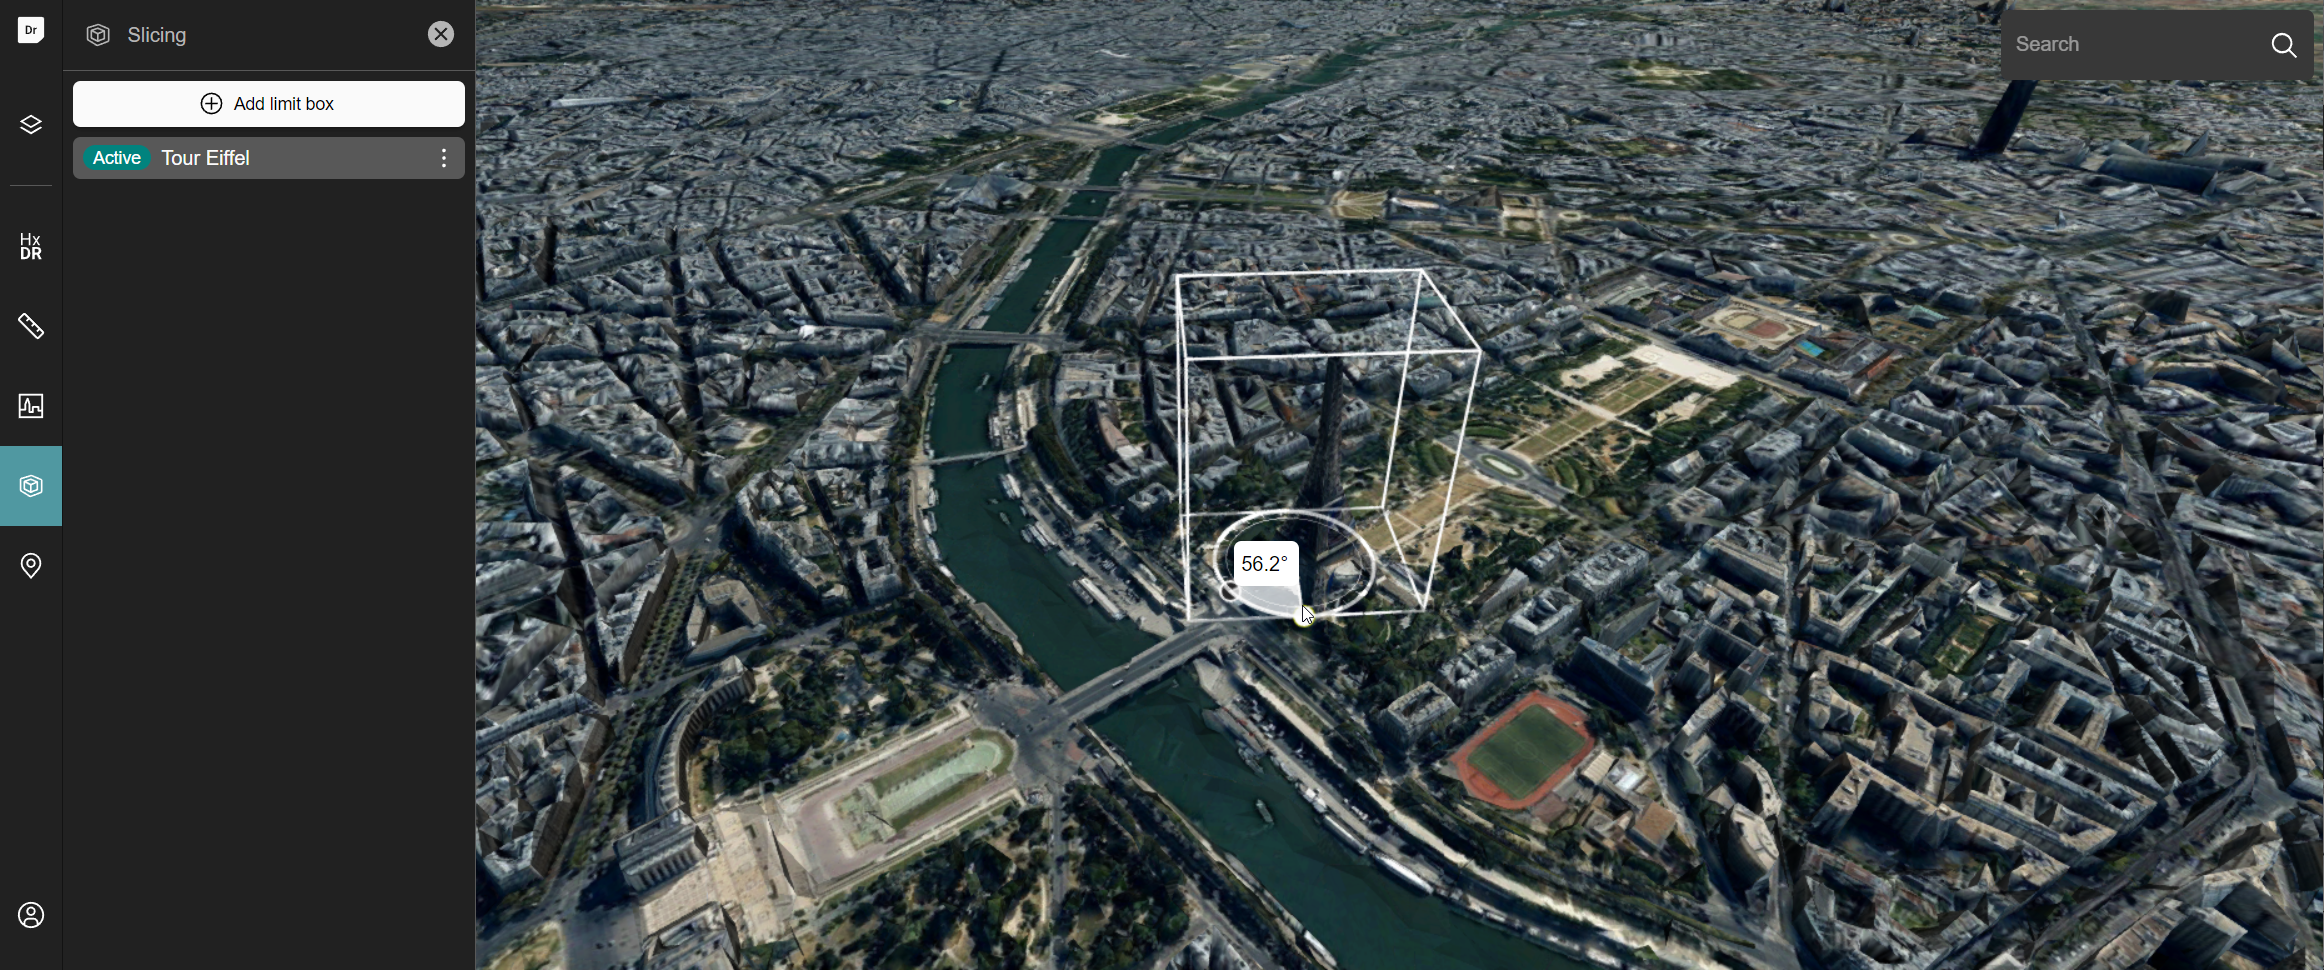
To rotate a slicing box on the map:
- Select the slicing box, and click it again.
Alternatively, find the slicing box in the Slicing drawer list. Click the menu icon with the slicing box item, and select Move from the menu. - HxDR StartApp shows move and rotate arrows in the slicing box. Press the bent rotation arrow, and drag the box to rotate it at the angle you want.
While you are moving the slicing box, HxDR StartApp shows the rotating angle in degrees.
Change the slicing box configuration
To change the slicing box name, and the visibility of the objects in a slicing box:
- In the list in the Slicing drawer, find the slicing box you want to change.
- Click the menu icon with the slicing box item, and select Configure from the menu.
- If needed, change the name of the slicing box.
- For each existing layer and new layers, re-configure what you want to do with the objects in your slicing box:
- To keep only the part of the layer inside your slicing box in view, click the Inside button next to the name of the current data layer.
- To keep only the part of the layer outside of your slicing box in view, click the Outside button.
- To keep displaying data both inside and outside of your slicing box, click the Ignored button.
- Click Add to apply the new slicing box configuration.
De-activate a slicing box
To de-activate the slicing box effect on the map without deleting the slicing box:
- In the Slicing drawer on the left, find the slicing box you want to de-activate in the list.
- Click its Active label.
The slicing box becomes inactive on the map.
To re-activate the slicing box, click the Inactive label with the slicing box.
Delete a slicing box
- In the Slicing drawer on the left, find the slicing box you want to delete in the list.
- Click the menu icon with the slicing box item, and select Delete from the menu.
HxDR StartApp deletes the slicing box from the map and the Slicing drawer.
How to add a slicing box from code
Use the VisibilityBoxSupport that is created in App.tsx. This support uses VisibilityBoxConfig objects to define which layers should be (in)visible in the given boxes.
const box = createOrientedBox(
    createTransformationFromGeoLocation(
        createPoint(
            getReference("CRS:84"),
            [4, 51, 0]
        )
    ),
    {x: -5, y: -5, z: 0},
    {x: 10, y: 10, z: 2}
);

visibilityBoxSupport.addConfig({
  id: new Date().toISOString(),
  name: "New Visibility config",
  enabled: true,
  expression: orientedBox(box),
  isInsideLayers: ["id of layer that should only be visible inside of the box"],
  isOutsideLayers: ["id of layer that should only be visible outside of the box"],
  newLayersEffect: Effect.VISIBLE_OUTSIDE,
});
You can set the BoxCreateController on the map to let users create slicing boxes and BoxSelectController to edit them.
function startSlicing() {
   const controller = new BoxCreateController();
   map.controller = controller;
   const createHandle = controller.on(
           BOX_CREATED_EVENT,
           (box: OrientedBox) => {
              createHandle.remove();
              map.controller = new BoxSelectController(visibilityBoxSupport);
           }
);
}